Installing marble floor tile can transform your space into a luxurious haven. With the right guidance, you can achieve a flawless and durable finish. Here’s a comprehensive step-by-step guide on how to install marble floor tiles, covering everything from surface preparation to the final seal.
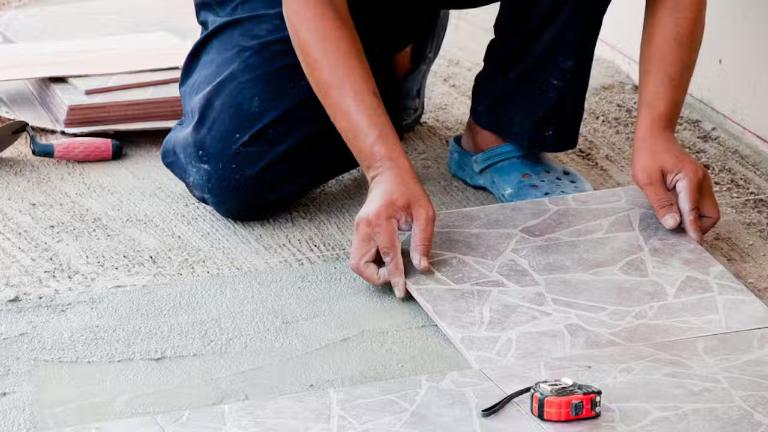
Table of Contents
ToggleTop 5 Steps to Install Marble Floor Tiles
Here are 5 steps to install marble floors for beginners that you can refer to:
1. Preparing the Surface for Marble Floor Tile Installation
Before you begin the installation process, it’s crucial to prepare the surface properly. Here are the steps to follow:
- Remove Old Flooring and Ensure the Surface is Level and Smooth: Start by removing the old flooring to expose the subfloor. This could be plywood or concrete. Ensure the surface is level and smooth. Any unevenness or incline can lead to poor tile adhesion and uneven tile placement.
- Check the Subfloor for Moisture Content and Apply a Moisture Barrier if Necessary: Check the subfloor for moisture content. Marble tiles do not fare well in damp environments, so applying a moisture barrier is essential if the subfloor is damp. A layer of cement or a specialized moisture barrier can add sturdiness and moisture resistance.
- Clean the Surface Thoroughly: Clean the surface thoroughly to remove any dust, debris, or old adhesive. A clean surface ensures that the marble tiles adhere properly to the subfloor, preventing any loosening over time.
2. Measuring and Cutting Marble Tiles
Measuring and cutting the marble tiles accurately is vital for a successful installation.
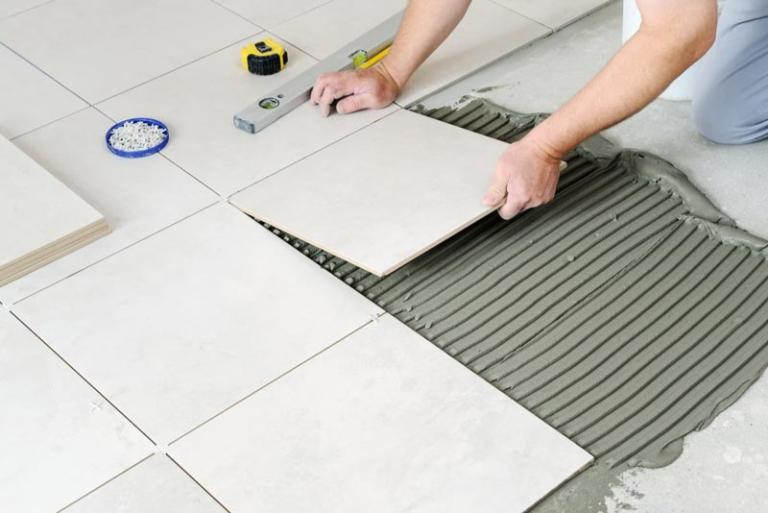
- Calculate the Square Footage of the Room: Calculate the square footage of the room to determine the number of tiles needed. This will help you avoid wastage and ensure you have enough tiles for the entire floor.
- Mark the Room Center with Chalk Lines and Create a Grid: Mark the center of the room with chalk lines and create a grid for even tile placement. This helps in achieving a symmetrical layout and reduces the risk of irregular spacing or edges.
- Cut the Marble Tiles: Use a wet saw to cut the marble tiles to fit around doorways and other obstructions. Measure twice to avoid any mistakes, as marble can chip or break during the cutting process.
3. Laying the Marble Tiles
Laying the marble tiles requires precision and the right tools.
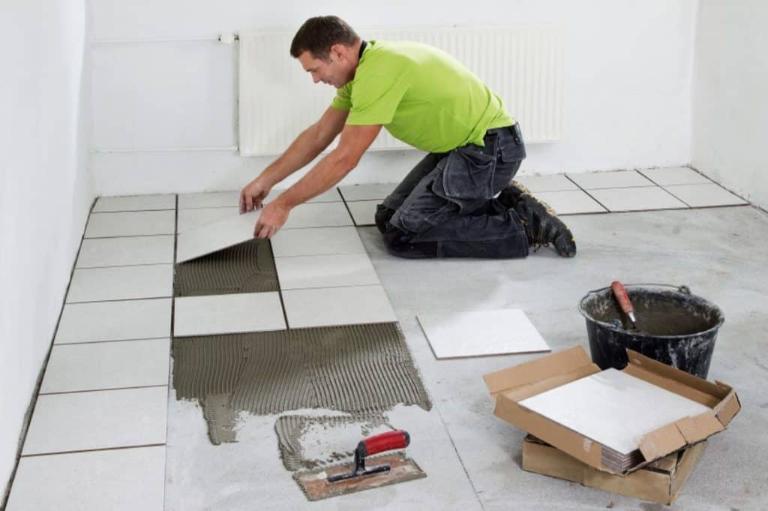
- Mix Thin-Set Mortar and Spread with a Notched Trowel: Mix the thin-set mortar according to the manufacturer’s instructions and spread it evenly with a notched trowel. Prepare a little mortar at a time to avoid it drying out before application.
- Lay the Marble Tiles: Carefully lay the marble tiles on the prepared surface, ensuring they are level and spaced evenly. Use spacers to maintain uniform gaps between the tiles. Gently tap the tiles with a rubber mallet to secure them in the mortar without causing any cracks.
- Stagger the Tiles for a Natural Look: Stagger the tiles to create a more natural and visually appealing pattern. This helps in distributing the weight evenly and adds to the aesthetic appeal of the floor.
4. Grouting the Marble Tiles
Grouting is a critical step in the marble flooring installation process.
- Apply Grout to the Joints: After the tiles have been laid and the adhesive has dried (usually 24 hours), apply a coat of grout to the joints. Use a grout float to spread the grout evenly, ensuring it reaches the base of the joints. Avoid leaving any empty areas.
- Clean the Grout: Use a damp sponge to clean the grout properly. Ensure the sponge is not too wet, as excessive moisture can make the grout runny and wash out. Clean the surface thoroughly to avoid any white film or smudges.
5. Sealing the Marble Tiles
Sealing is essential to protect the marble tiles from stains and scratches.
- Clean the Surface Before Sealing: Thoroughly clean the marble tiles with a mild detergent and water to remove any dirt, dust, or residues. Rinse the tiles with clean water and allow them to dry completely.
- Apply the Sealer: Apply a high-quality marble sealer using a clean, soft cloth or a brush. Follow the manufacturer’s instructions for application and drying times. For heavily used areas, consider using a marble sealer remover to strip off old sealer and contaminants before applying a new coat.
- Test for Absorbency: Test the marble’s absorbency by sprinkling a few drops of water on the surface. If the water is quickly absorbed, it indicates that the marble needs resealing.

Advantages and Beauty of Marble Flooring
Marble flooring is renowned for its elegance and durability. Here are some key benefits:
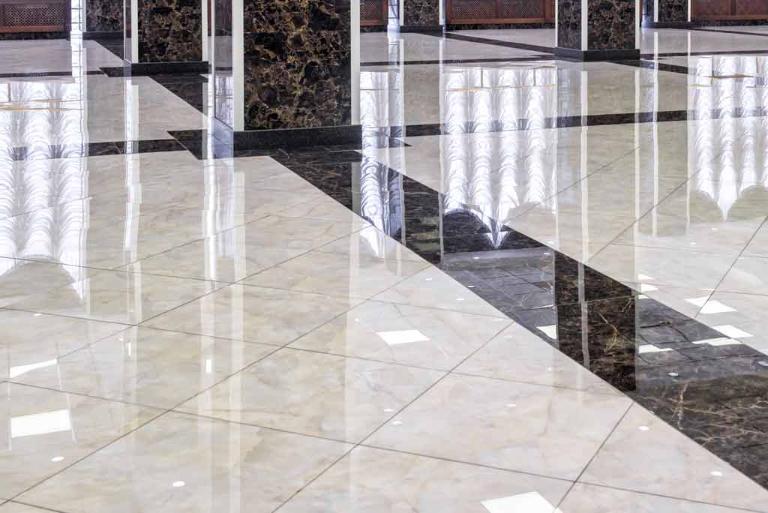
- Luxurious Appearance: Marble adds a touch of luxury and sophistication to any room, making it a popular choice for high-end interiors.
- Durability: With proper care, marble floors can last for decades, maintaining their beauty and integrity.
- Versatility: Marble comes in various colors and patterns, offering a wide range of design options.
- Value Addition: Marble flooring can significantly increase the value of your property.
Product List and Recommendations
When choosing marble floor tiles, it’s important to select high-quality products. Here are some recommendations:
- Grey Marble Tiles: Ideal for creating a modern and sleek look.
- Black and White Marble Tiles: Classic choice for a timeless and elegant appearance.
- White Marble Tiles: Perfect for brightening up the space and creating a spacious feel.
For more information on the latest marble flooring trends, you can visit
Additional Tips and Considerations
To construct and install beautiful and safe marble floors, you need to note the following:
- Safety Precautions: Always wear safety goggles, gloves, and a dust mask when cutting or handling marble tiles to protect yourself from dust and debris.
- Choosing the Right Tools: Invest in the right tools, such as a wet saw, notched trowel, rubber mallet, and grout float, to simplify the installation process.
- Maintenance: Regularly clean the marble floor to prevent stains. For more detailed cleaning, refer to guides on how to remove stains from marble floors. Consider the marble flooring trends and whether you prefer a classic look like a black and white marble floor or something more contemporary.
Installing marble floor tile is a rewarding project that can enhance the beauty and value of your home. By following these steps and tips, you can achieve a professional-looking finish. If you are ready to embark on this project, remember to take your time, follow the instructions carefully, and enjoy the process of transforming your space with the elegance of marble. Happy renovating.
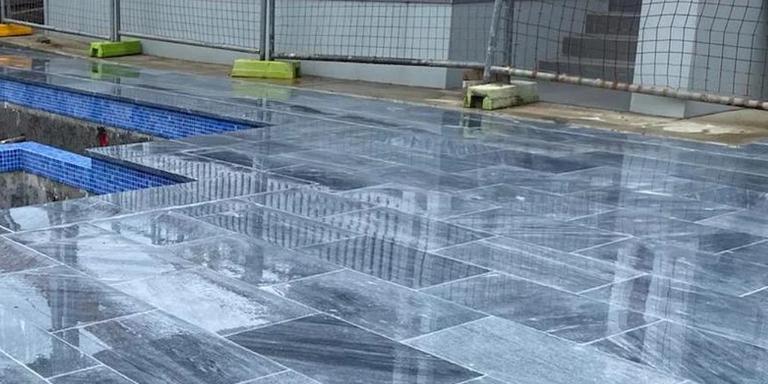
If you are ready to transform your space with the elegance of marble, start by preparing your surface and following the steps outlined above.
