Marble bathroom floors are a luxurious choice that can elevate the aesthetic of any bathroom. Known for their elegance and durability, marble tiles offer a unique combination of beauty and functionality. In this article, we will explore the benefits of marble bathroom floors, installation tips, and design ideas to help you create a stunning bathroom retreat.
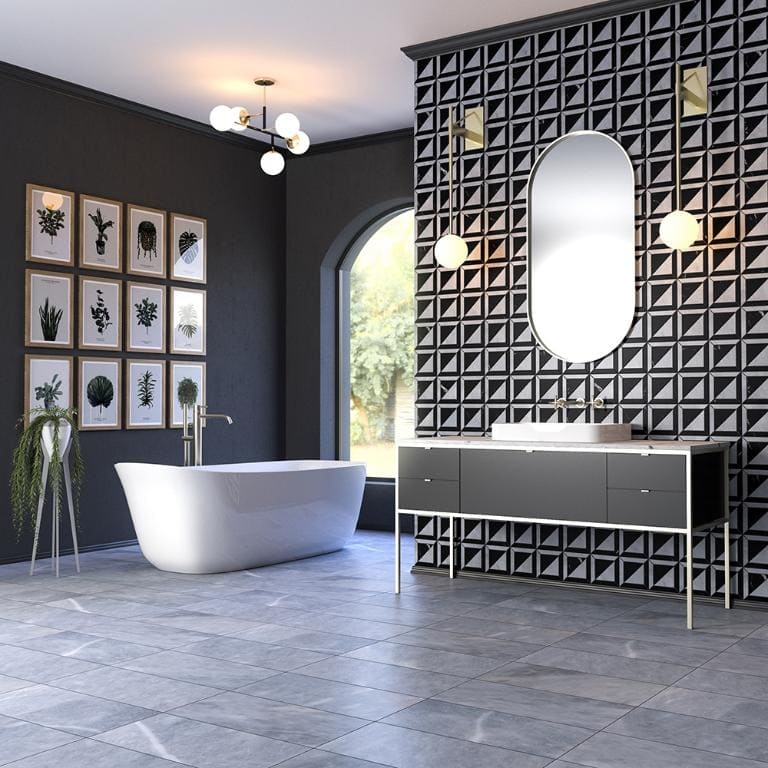
Table of Contents
ToggleBenefits of Marble Bathroom Floors
Choosing marble for your bathroom flooring comes with several advantages:
- Aesthetic Appeal: Marble tiles are available in various colors and patterns, allowing for customization to fit any design style. The natural veining in marble adds character and sophistication to the space.
- Durability: Marble is a highly durable material that can withstand heavy foot traffic. When installed correctly, marble floors can last for decades with minimal maintenance.
- Moisture Resistance: Although marble is porous, sealing it properly makes it resistant to moisture and stains, making it suitable for bathrooms where water exposure is frequent.
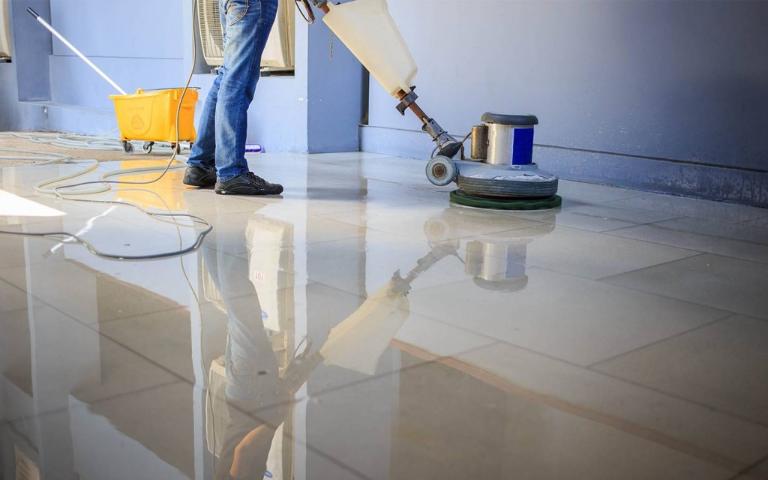
- Easy Maintenance: Cleaning marble floors is straightforward. Regular sweeping and mopping with appropriate cleaning solutions keep them looking pristine.
- Temperature Regulation: Marble naturally stays cool, making it comfortable underfoot in warm weather. It also retains warmth during colder months, providing a cozy feel.
Installation Process for Marble Bathroom Floors
Installing marble bathroom floors requires careful planning and execution. Here’s a step-by-step guide to help you through the process:
1. Prepare the Surface
- Remove Existing Flooring: If there is old flooring, remove it completely. Ensure that the subfloor is clean and free from debris.
- Check for Levelness: Use a level to check the subfloor. If it’s uneven, use a leveling compound to create a smooth surface.
2. Gather Materials
You will need the following materials:
- Marble Tiles: Choose high-quality marble tiles that suit your design preferences.
- Thinset Mortar: This adhesive will bond the tiles to the subfloor.
- Grout: Select grout that complements your marble tiles.
- Tile Spacers: These will help maintain even gaps between tiles.
- Sealer: A good quality sealer will protect your marble from stains and moisture.
3. Measure and Plan Layout
- Measure the Bathroom Area: Calculate the total square footage to determine how many tiles you need.
- Create Reference Lines: Use chalk to draw lines on the floor as guides for laying tiles. Start from the center of the room to ensure a balanced layout.
4. Mix and Apply Mortar
- Mix Thinset Mortar: Follow the manufacturer’s instructions for mixing mortar. It should have a thick, paste-like consistency.
- Spread Mortar on Subfloor: Use a notched trowel to spread mortar over a small section of the floor where you will start laying tiles.
5. Lay the Tiles
- Place Tiles in Position: Start laying tiles from your reference lines, pressing each tile firmly into the mortar.
- Use Tile Spacers: Insert spacers between tiles to ensure even spacing for grout lines.
- Cut Tiles as Needed: Use a wet saw to cut tiles around edges or fixtures for a precise fit.
6. Allow Mortar to Set
Let the mortar cure for at least 24 hours before walking on the newly laid tiles.
7. Grouting
- After the mortar has set, remove tile spacers and clean any excess mortar from tile surfaces.
- Mix grout according to instructions and apply it into the gaps between tiles using a grout float.
- Wipe off excess grout with a damp sponge before it dries to prevent residue from forming on tile surfaces.
8. Seal the Floor
Once the grout has dried (typically after 24 hours), apply a sealer over the entire floor to protect against stains and moisture penetration. Follow manufacturer instructions for application methods and drying times.
Design Ideas for Marble Bathroom Floors
To maximize the beauty of your marble bathroom floor, consider these design ideas:
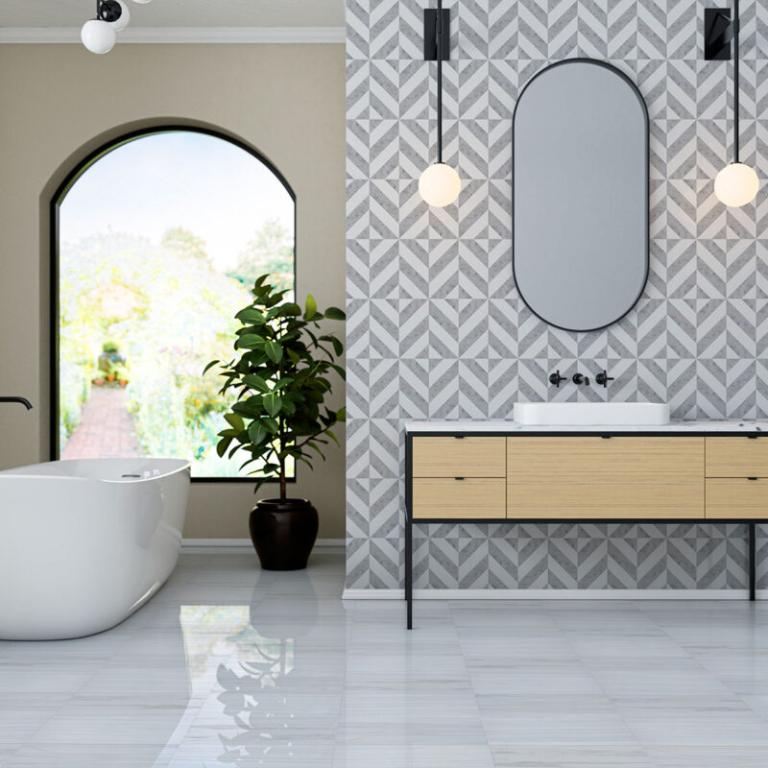
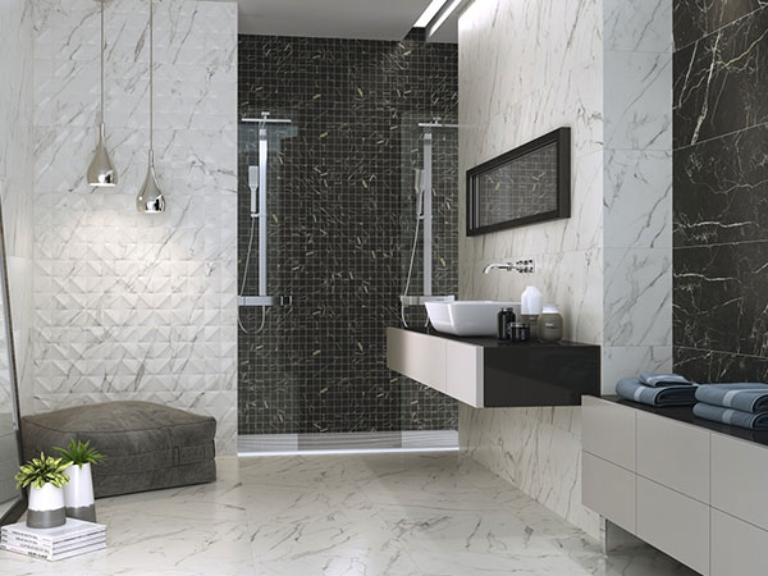
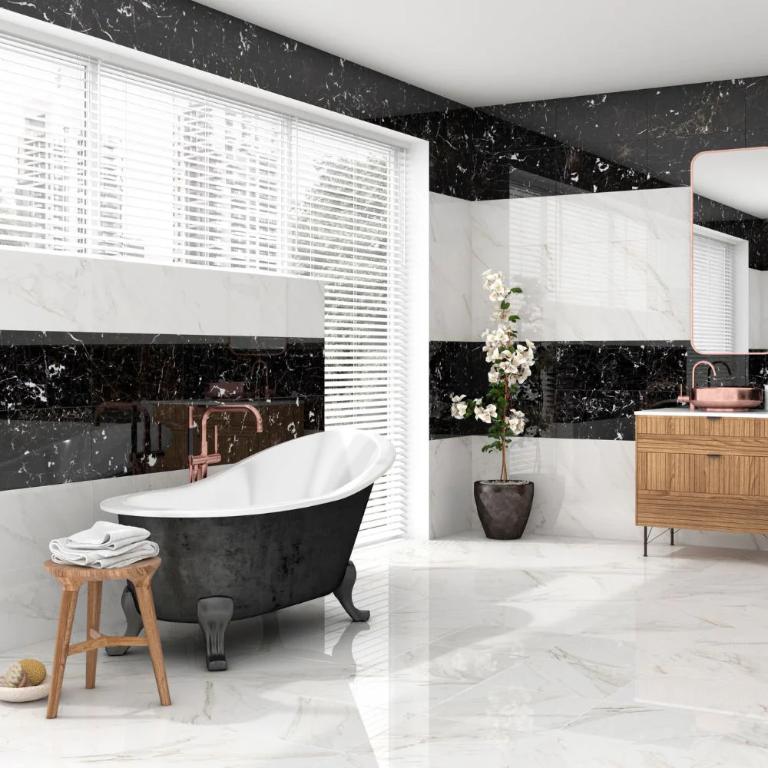
- Classic White Marble: Opt for timeless white marble with subtle gray veining for an elegant look that brightens up any space.
- Bold Black Marble: For a dramatic effect, choose black marble with striking white veining. This creates a sophisticated contrast when paired with lighter fixtures and accents.
- Hexagon Patterns: Incorporate hexagon-shaped tiles for a trendy geometric look that adds visual interest to your bathroom floor.
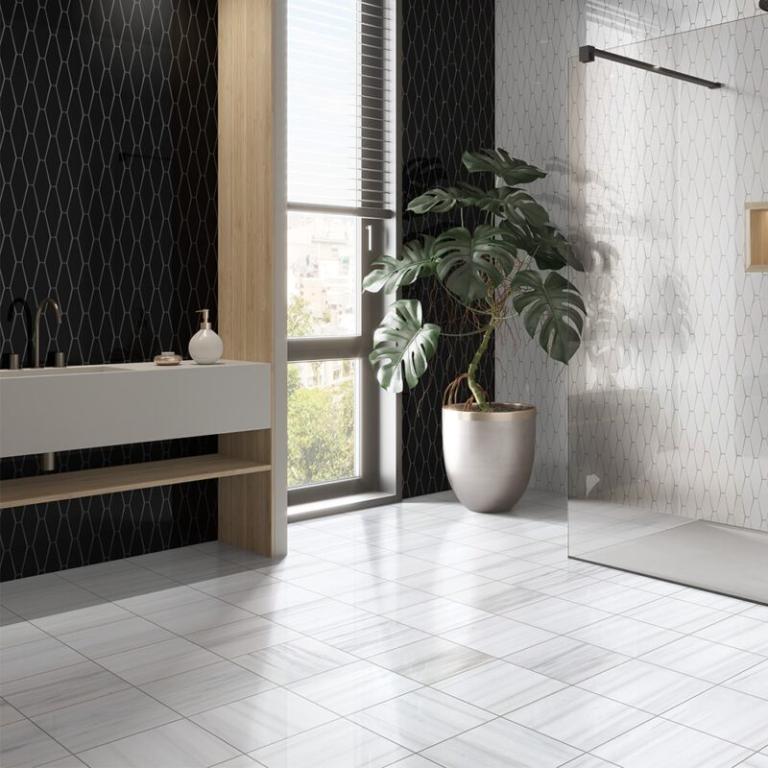
- Large Format Tiles: Using larger tiles reduces grout lines, creating a seamless appearance that enhances spaciousness in smaller bathrooms.
- Accent Borders or Inlays: Create unique designs by using different colored marble or tile patterns as borders or inlays within your main flooring layout.
Choosing a marble bathroom floor not only enhances the visual appeal of your space but also provides durability and ease of maintenance. By following proper installation techniques and considering various design options, you can create a luxurious bathroom retreat that reflects your personal style while standing the test of time.

