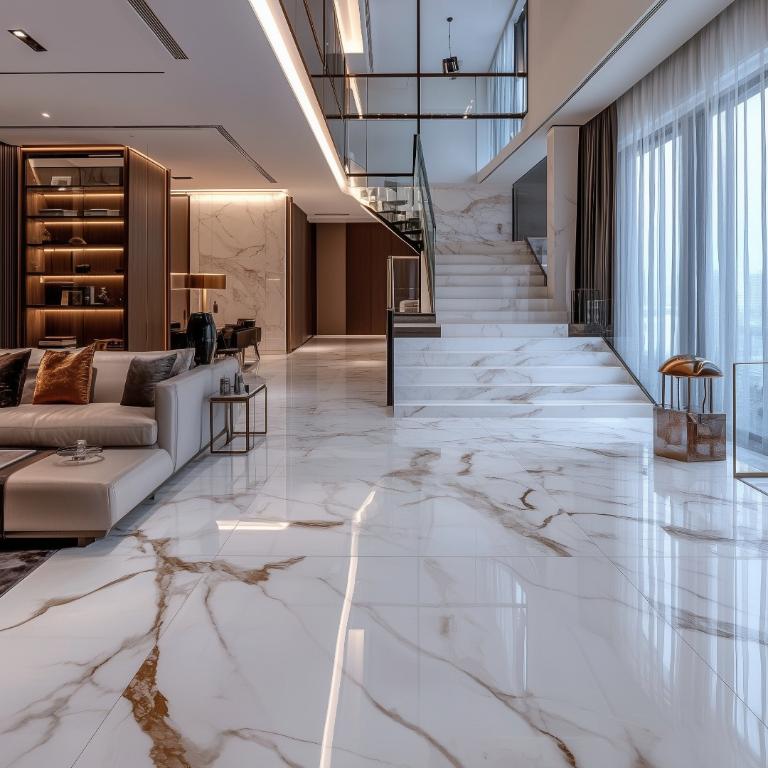
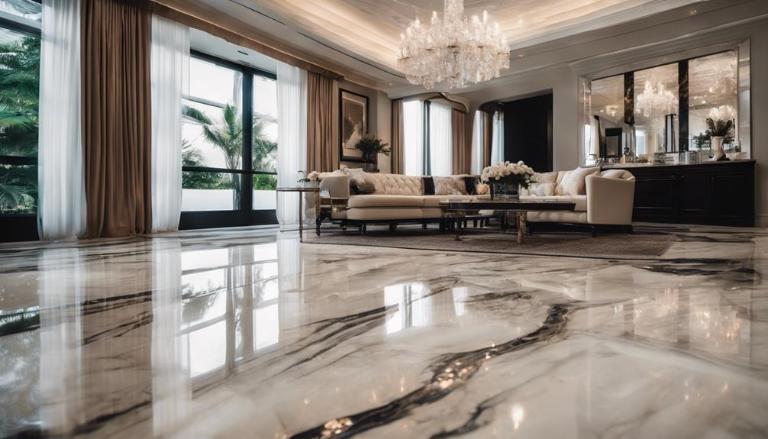
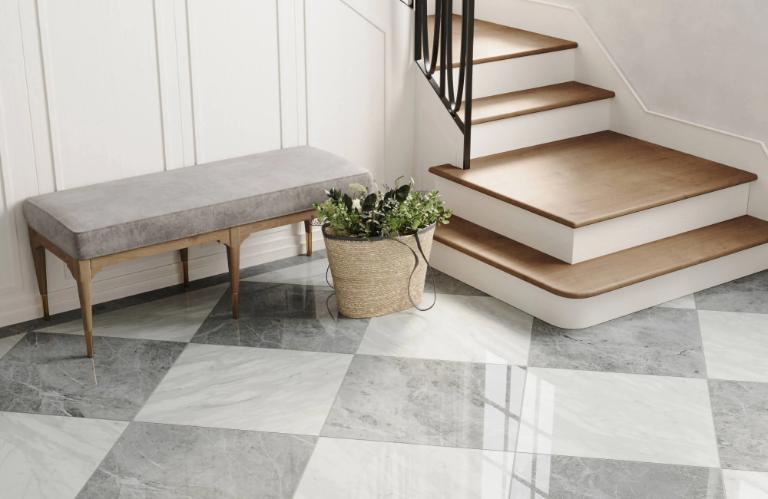
Marble flooring is not just a functional choice; it’s a statement of elegance and sophistication. As we delve into the world of marble floor design, you will discover its myriad benefits, design options, and installation processes. This comprehensive guide aims to equip you with the knowledge needed to make informed decisions about incorporating marble into your home.

Table of Contents
ToggleUnderstanding Marble Flooring
Marble is a natural stone that has been used for centuries in architecture and interior design. Its unique veining patterns and colors make every piece distinct, ensuring that no two floors are alike. Here are some key points about marble flooring:
- Aesthetic Appeal: Marble adds a luxurious touch to any space, enhancing its overall aesthetic.
- Durability: Known for its strength, marble can withstand heavy foot traffic, making it ideal for various areas in the home.
- Versatility: Available in numerous colors and patterns, marble can complement any interior design style.
- Hypoallergenic: Unlike carpets, marble does not trap dust or allergens, promoting better indoor air quality.
Benefits of Marble Flooring
- Timeless Elegance: Marble exudes a classic charm that never goes out of style.
- Easy Maintenance: With proper sealing, marble is easy to clean and maintain.
- Cool Surface: Marble remains cool underfoot, making it a comfortable choice in warmer climates.
- Increases Property Value: Homes with marble flooring often see an increase in market value due to its luxurious appeal.
- Health Benefits: Marble can help reduce allergens in the home, promoting a healthier living environment.

Popular Marble Floor Designs
When it comes to marble floor design, the options are virtually limitless. Below are some popular designs that can elevate your space:
| Design Style | Description |
| Checkerboard | Classic black and white tiles arranged in an alternating pattern. |
| Herringbone | Tiles laid in a zigzag pattern for added visual interest. |
| Geometric Patterns | Bold shapes and angles create a modern aesthetic. |
| Mosaic | Small pieces of marble arranged to form intricate designs or images. |
| Straight Lay | Simple and straightforward tile layout for a clean look. |
Step-by-Step Guide to Choosing Your Marble Floor Design
1. Assess Your Space:
- Measure the area where you plan to install marble flooring.
- Consider the room’s purpose (e.g., high traffic vs. low traffic).
2. Choose Your Color Palette:
- Decide on colors that complement your existing decor.
- Light colors can make a space feel larger, while dark colors add warmth.
3. Select a Pattern:
- Determine whether you prefer classic styles like checkerboard or modern geometric designs.
- Consider how patterns will flow from one room to another.
4. Consult with Professionals: Speak with interior designers or flooring specialists for expert advice on materials and installation.
5. Visit Showrooms: View samples in person to understand how different marbles look under various lighting conditions.

Installation Process for Marble Flooring
Installing marble flooring can be a rewarding DIY project if approached with careful planning and execution. Here’s a detailed step-by-step guide:
Preparation Steps
1. Gather Materials:
- Marble tiles
- Thin-set mortar
- Tile spacers
- Grout
- Trowel
- Leveling tools
2. Prepare the Subfloor:
- Ensure the subfloor is clean, dry, and level.
- Repair any cracks or uneven areas using thin-set cement.
3. Create a Layout Plan:
- Use chalk lines to mark reference points on the subfloor.
- Dry-lay tiles to visualize the final layout before adhering them.
Installation Steps
- Mix Thin-Set Mortar: Follow manufacturer instructions for mixing mortar.
- Apply Mortar: Use a notched trowel to spread mortar on a small section of the floor.
- Lay the First Tile: Start from the center of your layout; press the tile firmly into place.
- Use Tile Spacers: Insert spacers between tiles to ensure even grout lines.
- Continue Laying Tiles: Repeat the process until all tiles are laid.
- Allow Mortar to Set: Let the mortar cure according to manufacturer instructions (usually 24 hours).
- Grouting: Once the mortar has set, remove spacers and apply grout between tiles using a grout float.
- Clean Excess Grout: Wipe away excess grout from tile surfaces with a damp sponge before it hardens.
- Sealing the Floor: After grouting is complete and dried, apply a sealant to protect your marble from stains and moisture.
Maintenance Tips for Marble Floors
To keep your marble floors looking pristine, follow these maintenance tips:
- Regularly sweep or vacuum to remove dirt and debris.
- Use a damp mop with pH-neutral cleaner specifically formulated for marble.
- Avoid acidic cleaners that can etch the surface of the marble.
- Reapply sealant every 6-12 months depending on foot traffic.

Conclusion
Incorporating marble flooring into your home is an investment in beauty, durability, and timeless elegance. With various designs available and straightforward installation steps, you can transform your space into a luxurious haven that reflects your personal style.
By following this guide, you’ll be well-equipped to choose, install, and maintain stunning marble floors that enhance your home’s aesthetic appeal while providing lasting value.
